Line is a great messaging app and has been getting a lot of attention recently. Even some employers have asked their employees to use Line to communicate with their clients. As a result of the diverse user groups who use Line, knowing how to export and save chat history from Line is very important. Backing up your Line chats makes sure that if anything goes wrong with the app, you still have the data available.
Part 1: Export/Save Line Chat History from iPad/iPhone with Official Methods
Part 2: Export/Save Line Chat History from iPad/iPhone with Backup & Restore Tool
Part 1: Export/Save Line Chat History from iPad/iPhone with Official Methods
Back up Your Line Chat from iPhone/iPad to iCloud
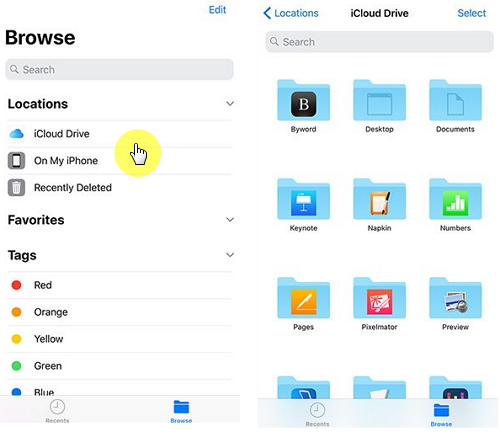
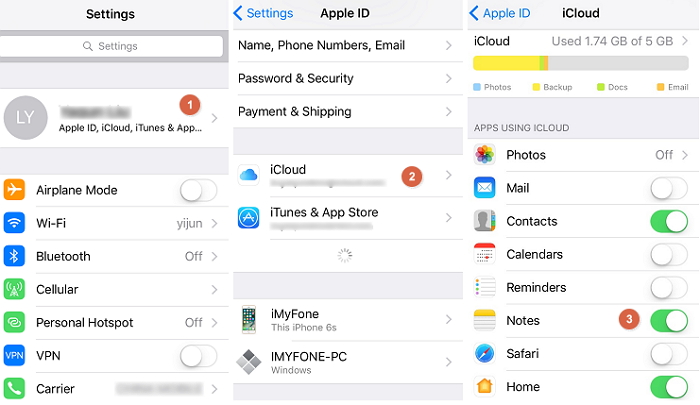
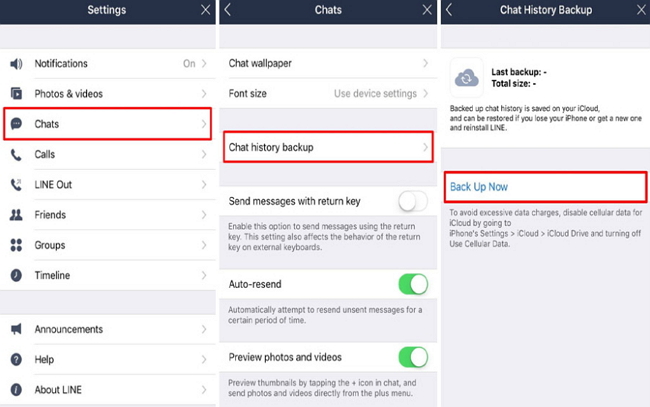
The first way to backup Line chat is through the app to iCloud. This method will not back up your photos from your Line chats. Before starting, please make sure that the iCloud Drive must be enabled.
Open the Line App on your iPhone or iPad and follow “More > Settings > Chats”.
Tap the “Chat history backup” option and then select “Back Up Now”.
Sponsor ads:Set a Voice Recording as a Ringtone on iPhone Xs/X/8/7/6s
Sponsor ads:Fix: Windows 10 Go Back to An Earlier Build Missing after 10 Days
Sponsor ads:How to Fix Windows was Unable to Format SD Card/USB DriveYour Line chat messages will now be backed up to iCloud.
Save Line Chats on Your iPad/iPhone in Text Format
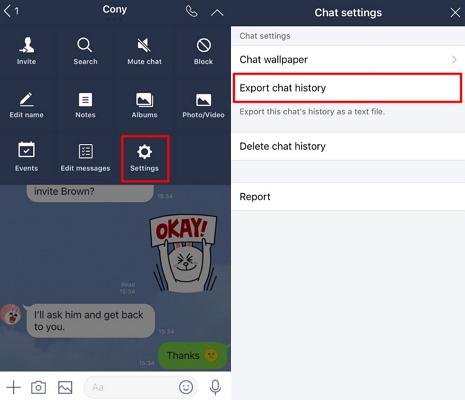
Line users can also export their chat history in the form of a text file.
Go to a chat that you want to back up and tap the upside-down arrow.
Tap “Settings > Export chat history”.
Choose the format that you want to export your chats as.Sponsor ads:
Gihosoft Free iPhone Data Recovery:https://www.gihosoft.com/iphone-data-recovery-free.html
Gihosoft iPhone Data Recovery Free
Free iPhone Data Recovery Software for Windows/Mac
Recover up to 12+ types of files, including contacts, SMS, photos, WhatsApp, Viber, notes, etc.
Restore lost data from iOS devices directly or from iTunes and iCloud backup
Recover iPhone data lost due to iOS upgrade/jailbreak, accidental deletion, device lost or broken
Support all the latest iPhone, iPad and iPod Touch
Both Free and Pro version.
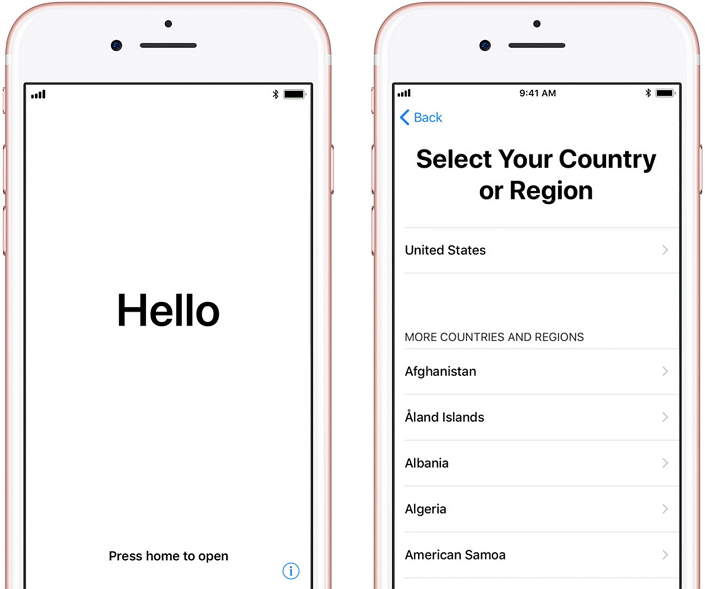
If you lost data after you updated to a new iPhone, you can always use Gihosoft iPhone Data Recovery to get the data back from the old iPhone or backup.You may also like: iphonerecovery.com
If you use android phones, please choose Gihosoft Android Data Recovery.
With Gihosoft Android Data Recovery, no longer afraid of data loss!
Must read:Youtube video downloader for pc
Gihosoft RePicvid Free Photo Recovery Software provides a free photo recovery software for windows to help users recover the deleted or lost photo for free.
Jihosoft Android Data Recovery: the best Android Data Recovery software for Windows and Mac to recover deleted contacts, messages, photos, videos, WhatsApp and etc from Android devices.Tips:How to transfer messages from iPhone to iPhone
jihosoft Free iPhone Data Recovery
Part 2: Export/Save Line Chat History from iPad/iPhone with Backup & Restore Tool
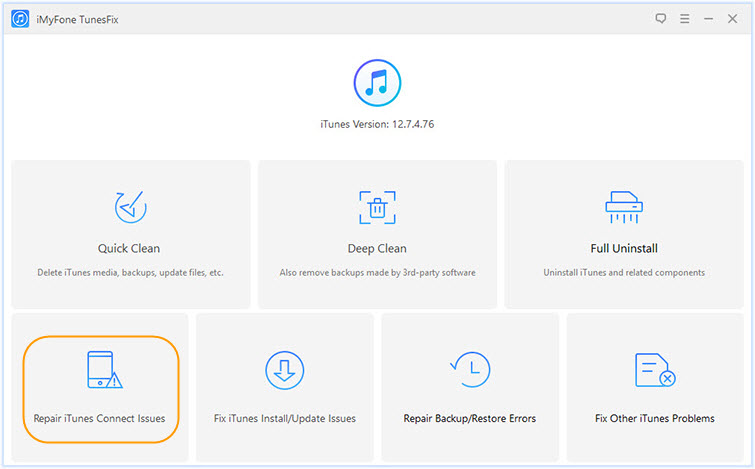
One of the best ways for Line to save chat history is using iMyFone D-Port Pro. With this program, you’re able to take backups, restore them, and export data from your iPhone.Also Read:How to Fix the “Black Screen of Death” on iPhone XS/X/8/7
Also Read:How to Recover Files Deleted by Virus Attack


 or
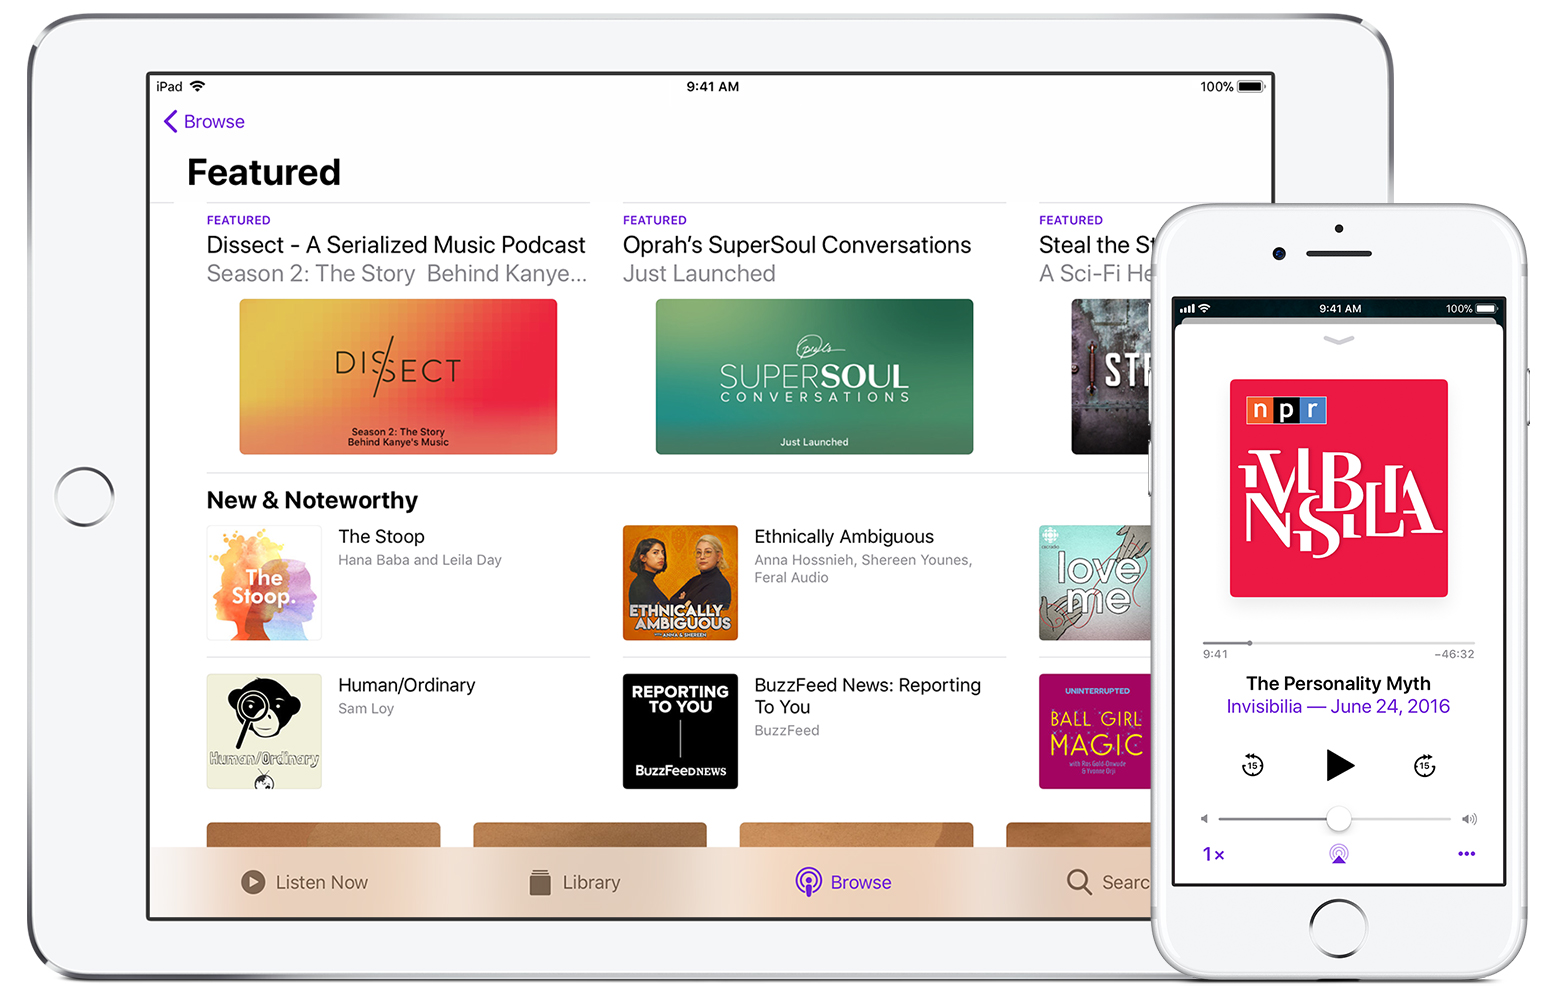
or  to jump back or forward 15 seconds.
 to change the the playback speed. (11/2x means slightly faster, 2x means fast, 1/2x means slightly slower, 1x means normal speed.)
 to use AirPlay to stream the episode to other devices.